You’ve developed an incredible game using Unity, and now it’s time to share your creation with the world by publishing your game it on the App Store. This article will provide a step-by-step guide to help you successfully publish your Unity game on the App Store, covering everything from preparing your game to navigating the submission process.
Preparing Your Unity Game
Before you can publish your game on the App Store, you need to ensure it meets Apple’s guidelines and requirements. Here are some essential steps to prepare your game:
a. Optimize Performance: Make sure your game runs smoothly on iOS devices, with minimal load times and no crashes. Optimize your game’s assets, such as textures and models, and use efficient coding practices to ensure a seamless user experience.
b. UI Adaptation: Adapt your game’s user interface to accommodate various screen sizes and resolutions, ensuring that it looks great on all iOS devices.
c. Platform-Specific Features: Implement platform-specific features, such as Game Center integration, to enhance the overall gaming experience and comply with Apple’s guidelines.
d. Test on iOS Devices: Thoroughly test your game on a range of iOS devices, including different models of iPhones and iPads, to ensure compatibility and a consistent user experience.
Once you have a solid foundation, the next step is to configure your Unity project for iOS. Start by installing the latest version of Unity, as well as the required iOS modules. Then, open your project, navigate to the Build Settings, and switch the platform to iOS. When prompted, accept the necessary changes to configure your project for the target platform.
Next, you’ll need to optimize your game for performance. Achieving a smooth, responsive gameplay experience is crucial for player satisfaction and retention. To do this, consider the following:
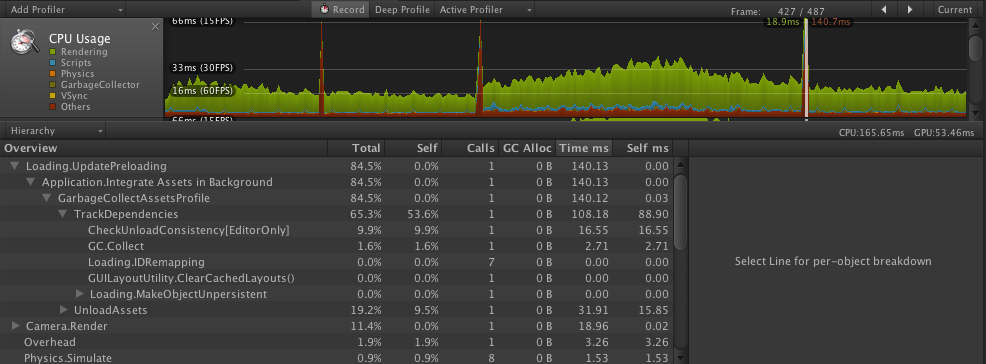
- Profile your game using Unity’s built-in profiler to identify bottlenecks and areas where performance can be improved.
- Optimize assets such as textures, meshes, and animations, reducing their file size and complexity.
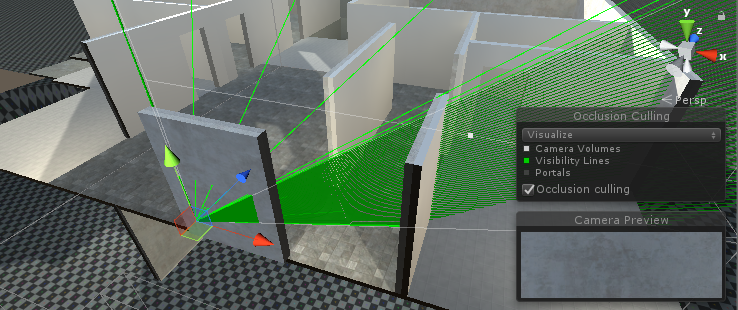
- Use occlusion culling and Level of Detail (LOD) techniques to minimize the rendering workload.
- Implement efficient scripting and avoid using expensive operations like ‘Find’ or ‘GetComponent’ in frequently-called methods such as ‘Update’.
- Minimize garbage collection by reusing objects and using object pooling.
Now that your game is optimized, it’s time to adapt your user interface to various screen sizes and orientations. As iOS devices come in a wide range of resolutions and aspect ratios, it is essential to design your UI to be flexible and responsive. Utilize Unity’s UI system, particularly the Canvas Scaler component and Anchors, to ensure that your UI elements scale and position correctly on different devices. Test your game on various screen sizes and orientations using Unity’s built-in Game View or, even better, real iOS devices.
With your game optimized and its user interface adapted, it’s time to set up the required services and APIs. For example, if your game features in-app purchases or advertisements, you will need to integrate the appropriate SDKs, such as the Unity IAP or Unity Ads SDK. Additionally, if your game requires online services, consider using Unity’s multiplayer and networking features or third-party solutions. Ensure that all services and APIs are correctly configured, tested, and compliant with Apple’s guidelines.
To maximize your game’s compatibility, it is crucial to test it on multiple devices, operating system versions, and screen sizes. This process will help you identify and resolve any potential issues, ensuring a smooth experience for your players. Consider using Unity’s Cloud Build service.
Creating an Apple Developer Account
To publish your game on the App Store, you need an Apple Developer account. If you don’t have one, visit the Apple Developer website (https://developer.apple.com/) and sign up for the Apple Developer Program. The membership fee is $99 per year and provides access to resources and tools needed for app development and distribution.
Preparing App Store Assets
Before submitting your game to the App Store, gather the following assets:
a. App Icon: Design an eye-catching and representative app icon following Apple’s Human Interface Guidelines. The icon should be 1024×1024 pixels in size.
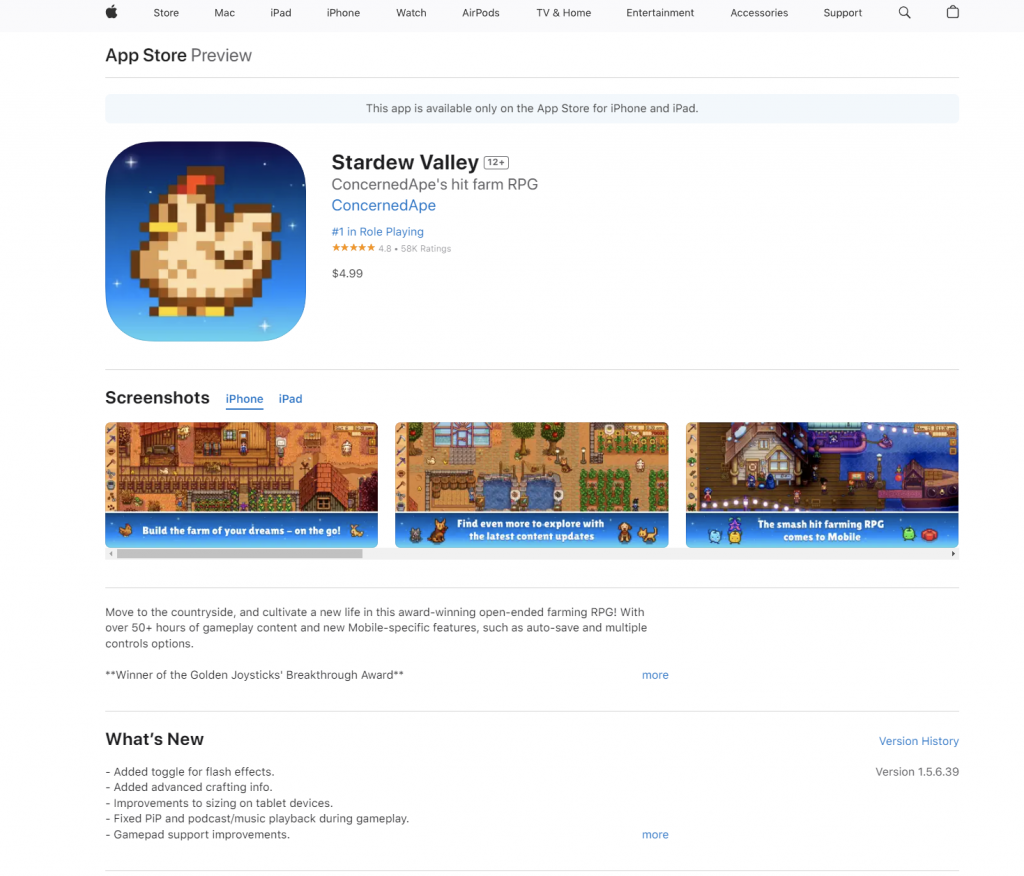
b. Screenshots: Capture screenshots of your game that showcase its key features and gameplay. You’ll need different sizes for various device resolutions, including iPhone, iPad, and Apple Watch (if applicable).
c. App Preview Video: Create a 15-30 second video showcasing your game’s best features and gameplay. This video can help entice potential players to download your game.
d. App Description: Write a compelling and informative description that highlights your game’s unique features and appeals to your target audience.
e. Keywords: Choose relevant keywords that describe your game and will help potential players find it on the App Store.
f. App Store Categories: Select appropriate categories for your game to ensure it reaches the right audience.
Building Your Game for iOS
With your assets ready, it’s time to build your game for iOS. Follow these steps in Unity:
a. Open your game project in Unity.
b. Select “File” > “Build Settings.”
c. In the Build Settings window, choose “iOS” as the target platform and click “Switch Platform.”
d. Click “Player Settings” to open the Player Settings in the Inspector.
e. Configure the settings as needed, including setting the Bundle Identifier, Version, and other settings specific to your game.
f. In the Build Settings window, click “Build” to create an Xcode project.
Submitting Your Game to the App Store
After building your game for iOS, follow these steps to submit it to the App Store:
a. Open the Xcode project generated by Unity.
b. Connect an iOS device to your computer and choose it as the build target in Xcode.
c. Select “Product” > “Archive” to create an archive of your game.
d. Once the archiving process is complete, the Organizer window will open.
