An Introduction to Game Development Integration
If you’re diving into mobile game development, you will find yourself asking questions about establishing a connection with Google Play and adding features to your game like leaderboards, achievements, and more.
If those are you’re questions you’re in the right article. I’ll shed light on Google Play Game Services and provide a step-by-step guide on how to integrate these services into your Unity projects.
If you find yourself lost by certain keywords or concepts, please don’t be discouraged. It’s normal to feel a bit overwhelmed when encountering numerous new concepts related to these platforms. Remember that learning and familiarizing yourself with these concepts takes time. With patience and persistence, you’ll gradually gain a better understanding and feel more confident in tackling the tasks at hand.
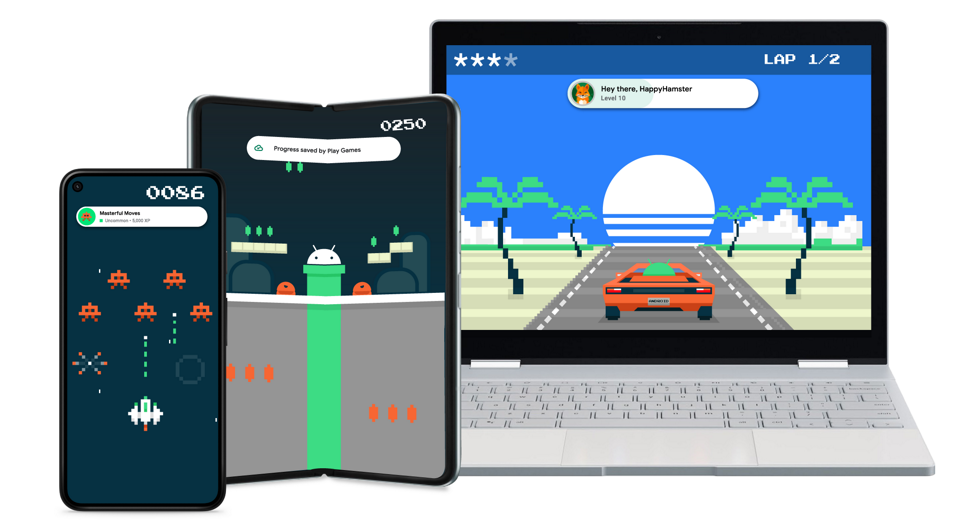
Now it’s time to take our hands in and know the real potential of Google Play Game Services, also known as GPGS.
Understanding the basics
In order to grasp the relationship between Unity and Google Play, it’s essential to familiarize ourselves with two key platforms: the Google Developer Console and the Google Cloud Platform. These platforms play a crucial role in establishing the connection and bridging the gap between Unity and Google Play.
The Google Developer Console is a platform provided by Google that serves as a valuable tool for developers. It allows you to easily manage and publish your applications and services.
On the other hand, Google Cloud Platform is a platform that enables you to securely store credentials, establish OAuth consent, and effectively manage API calls.
Google Developer Console
As a mobile game developer, you’ll find tools and resources within the Google Developer Console, designed to bring your game to life on the Google Play Store.
This platform serves as a centralized hub, granting you full control over every aspect of your game’s presence and distribution. Consider dealing with various currencies worldwide, each with its own unique retention rates, fees, and other factors. Luckily, the console takes care of these calculations. The console expertly manages the intricate details of pricing, ensuring a seamless and optimized user experience.
Moreover, It provides you with the flexibility to release different versions of your game, including testing phases such as alpha and beta versions. This feature is invaluable as it allows you to gather valuable feedback from a select group of users before making your game widely available. By leveraging this capability, you can ensure that your game is polished and optimized for success before reaching a larger audience.
In addition to the features we’ve covered so far, there are numerous other aspects to explore, such as performance optimization, reaching new players, marketing strategies, and more. We won’t delve into these aspects in depth here, but the more you engage with these tools, the easier it becomes to uncover and understand the wide range of features at your disposal.
Google Cloud Platform
Google Cloud Platform also known as GCP offers a sort of services that can significantly enhance your development process and boost the scalability and performance of your game.
You can execute code based on triggers like user actions, database updates, file updates or create dynamic and interactive experiences. It provides secure and scalable objects for your images, audio files, and videos. GCP provides you with powerful services and tools to scale your mobile game and handle backend operations efficiently.
Process Flow
Now, let’s explore the data flow involved in GPGS requests through the following schema.

I must admit, my initial attempt to comprehend its inner workings was quite overwhelming. The initial step in the process is to ensure that your app is built within Unity. Once the build is ready, you can test it on your device.
GDC receives the request from the app. It then transmits the associated data, including the SHA-1 key stored within the build, to the Google Cloud platform. Then GCP efficiently manages all the backend operations and subsequently provides a response back to the app.
Google Play Games plugin for Unity
The Google Play Games plugin for Unity is an exciting open-source project designed with a clear objective in mind. Its primary goal is to offer game developers a seamless integration with the Google Play Games API.
It also allows you to access the GPGS API through Unity’s social interface. It provides sign-in, friends, achievements, leaderboards, cloud save, events and nearby connections. To use the plugin we may first configure the project inside Google Play Developer Console.
These are the steps we are going to follow to get the plugin to work:
- Download the package
- Set up build settings
- Import package
- Set up player settings
Setting up Unity with GPGS
The first thing we are gonna do is download the package from GitHub.
If you look into the Samples section, you can explore various that demonstrate the implementation of features like leaderboards, connection activities, and more. While we will provide explanations in this article, taking a look at these examples is always beneficial for gaining a better understanding.
Package import
Now that we have the package downloaded we have to change our build settings and switch platforms to Android.
- Go to File → Build Settings → Select Android → Click the Switch Platform button

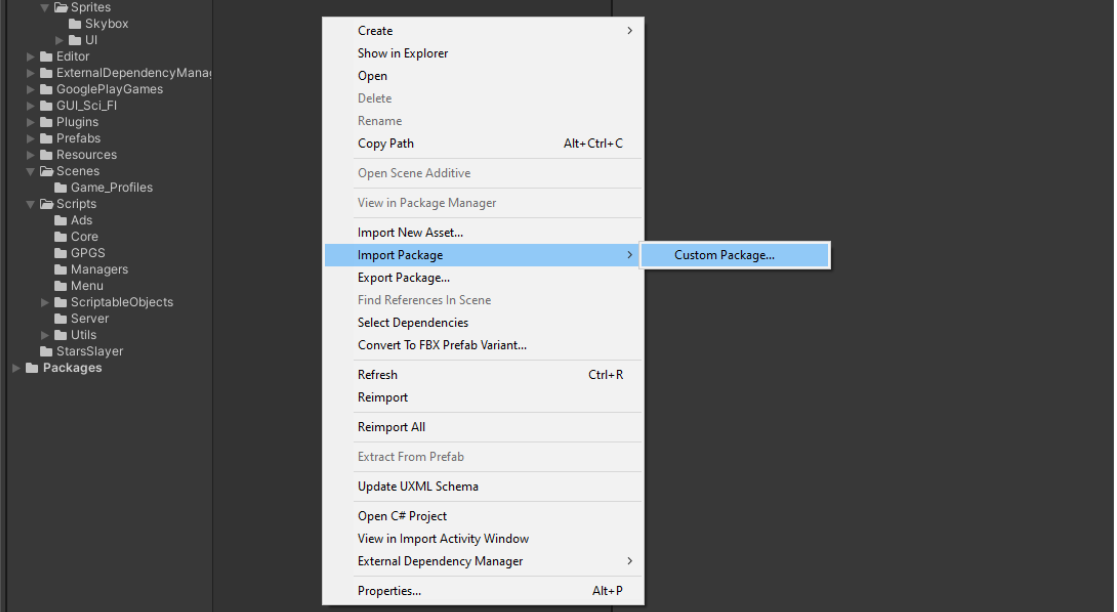
- Right-click in the project window → Import Package → Custom package → Select the package. (You can also drag and drop the file into the project window)
Once you have the package imported you will see the following window being opened.This is called the Android Resolver tool. It will resolve all the conflicts and download the needed Andriod dependencies.

Click on “enable,” and the necessary dependencies for establishing a connection with GPGS will be automatically imported. Occasionally, you may encounter a situation where the Android Resolver fails during the initial attempt. However, there’s no need to worry as this issue tends to resolve itself later on.
Project settings setup
Now it’s time to configure our Unity project settings. Inside the player settings, we will change the default names of the company (you can name it whatever you want, that’s fine).
- Go to Edit → Project settings → Player → Company Name.

Once the company name is changed, the package name associated with it will be automatically updated. This triggers the Android Resolver, as discussed in the earlier part of the section. You’ll notice that the Android Resolver now functions smoothly and imports all the necessary components and dependencies correctly.
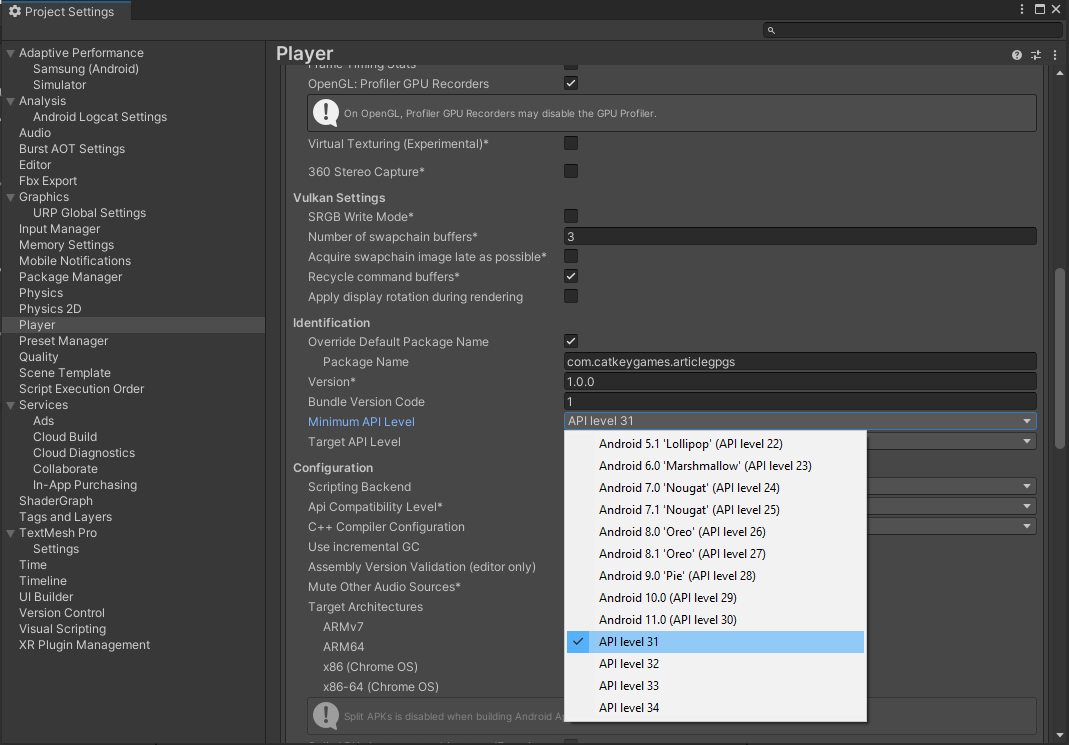
The next thing we need to change it’s the minimum API Level to +31. If you have an old device you won’t be able to install the APK so be aware of this field. Currently API level +31 it’s the lower API level needed to publish an app on the play store.
Finally, the scripting backend field needs to be changed to IL2CPP instead of mono. There are a number of trade-offs in both options. The two scripting backends are different your choice depends on your use case. In our context, it will allow also us to change the target architecture to ARM64. This is quite important because you can’t publish any app if doesn’t support ARM64.

According to Josh Peterson Engineering Manager at Unity Technologies (2021), “Compile times for AOT are longer, but the binary is completely specified when you ship a game. JIT compilation is faster, but compilation to machine code occurs on the end user’s device (many platforms are AOT-only, so you may not have a choice). JIT is more flexible – you can use more of .NET, whereas AOT is faster for some cases (e.g. IL2CPP is better at floating point math than Mono)”.
Setting up GPDC and GCP
Now, let’s shift our focus to GPDC! In this section, we will explain the process of creating our app within the console and configuring all the necessary settings. If you weren’t aware, please note that there is a fee of 20,00 € required to obtain your developer account, which grants you the privilege to publish as many apps as you desire.
These are the steps we are going to follow to get the GPDC to work:
- Create an application
- Access to Google Cloud Platform
- Locate the Google Cloud Platform project
- Creation of OAuth key
- Creation of SHA-1 fingerprint
- Creation of features for the game
- Connect application with Unity
Creation of the app inside GPDC
The initial step involves creating an app. Locate the button positioned at the top-right corner of the screen.

By clicking on it, you’ll be guided through the necessary steps to define and configure your app. The fields are self-explanatory, fill in as your app needs.
Now we have the app created and the only part we are really will be working on it’s Play Games Services Area.
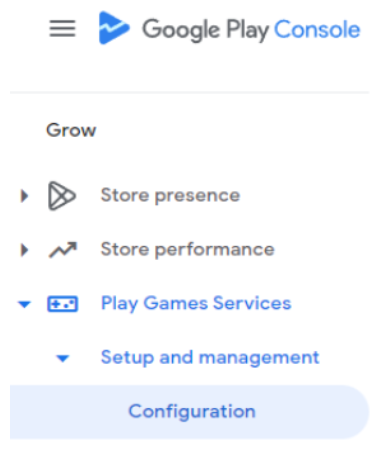
- Go to Grow → Play Games Services → Setup and Management → Configuration.
It will ask if your game already uses Google APIs, of course, doesn’t yet, fill in the name and create. Now we will be able to have our project ID and credentials to configure our OAuth consent inside GCP.
The beauty of this is that now with this configured google automatically creates the same project connected to the Google Cloud platform.
- Go to the Credentials → Click Configure OAuth consent screen button → Click the Google Cloud Platform link

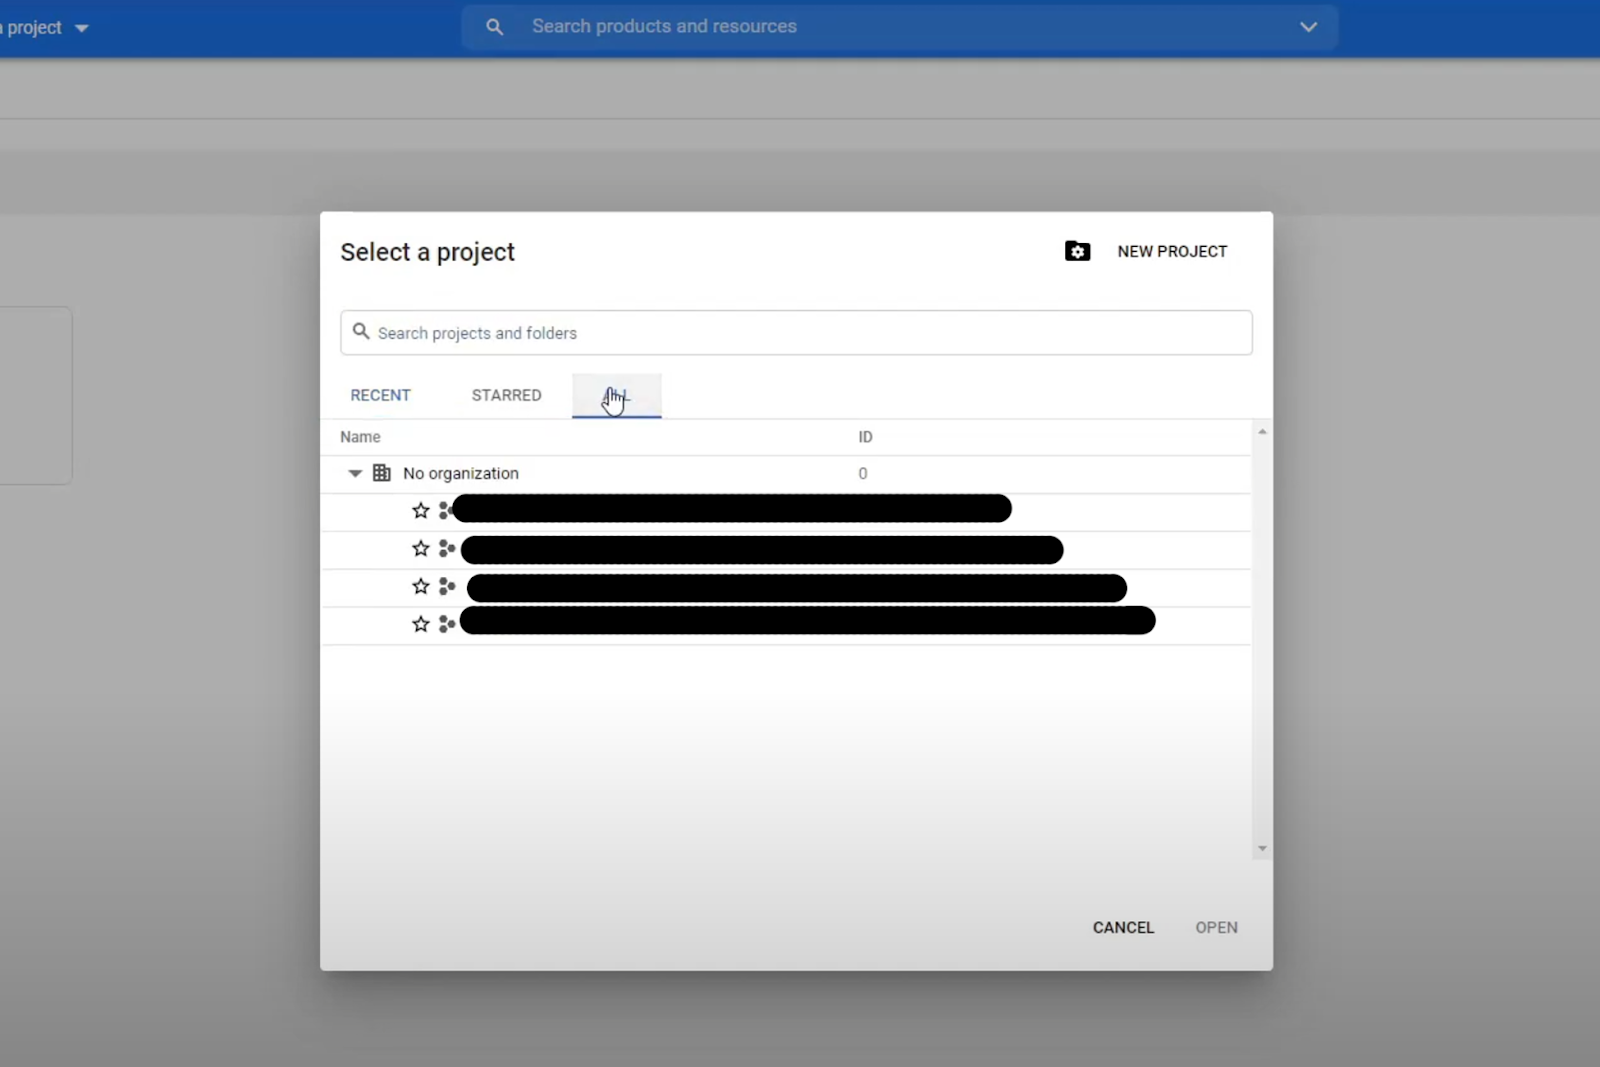
Now we are inside GCP and the first thing we need to do is to select our project.
- Go to select a project → Click on the All tab → Click on the created project and open it
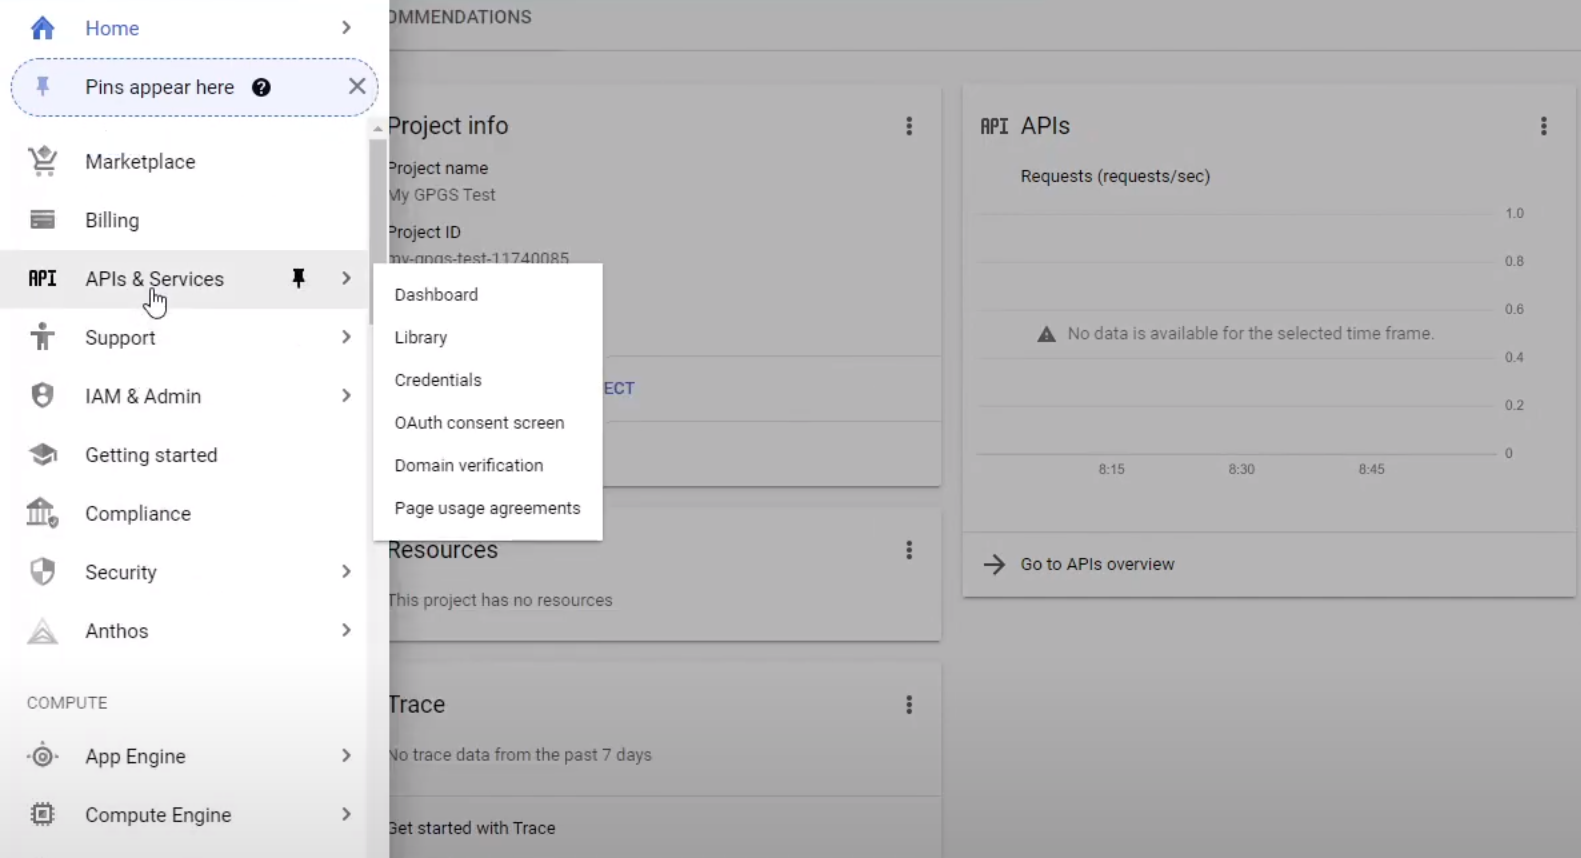
Once you have selected the project there’s quite a lot of information there but we don’t really need any of this stuff. The only thing we need is the section found in the section menu APIs & Services.
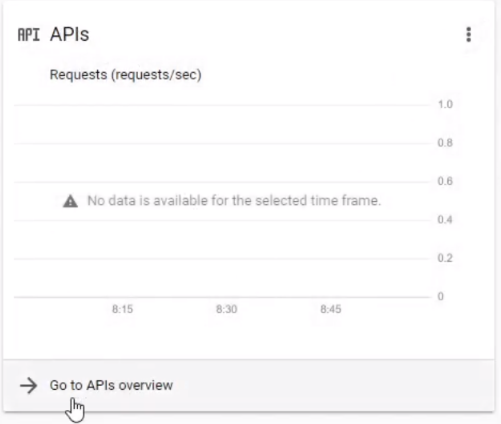
- Click the menu button → Click on the APIs & Services → Click on the dashboard → Go to APIs overview
In order to connect the users to our project we need to create the OAuth consent.
Click on the “Configure consent screen” button located at the top-right corner. A new screen will appear, and various steps need to be filled out.
I highly recommend using the same app name that you have designated in the Google Play Developer Console. By doing so, you ensure consistency and avoid any confusion. It’s important to maintain uniformity across platforms and keep everything organized.
As you proceed with the app registration, you will also be prompted to provide information such as scopes, test users, and a summary. These details are customizable and can be tailored to your specific game’s requirements. Feel free to fill in the fields based on your game’s needs and preferences.
Important: Make sure to add your email to test users, then you will be able to interact with the API.
OAuth key setup
Now we can set up our OAuth key!
- Go to create credentials → OAuth client ID

The next step is to fill in the needed fields. One important field here is the package name. The naming should have the following structure: com.companyname.applicationname. The last field we will find is the SHA-1 fingerprint. Let’s talk a little bit more in detail in the next section.
IMPORTANT: Once you filled in the package name, go to Unity and change your package name inside the project settings.
SHA1 fingerprint key setup
One of the most confusing things or at least for me the first time I used it was the SHA-1 fingerprint key which it’s a unique identifier that allows your app to connect through the API. If the app isn’t signed with the same SHA-1 it won’t be possible to make requests.
The way to get this key is to use the command shown below. Paste it in your cmd and replace it with your route. The file it can be found in the following path:
- C:\Users\Username\.android\debug.keystore
And the command should look like this:
- -keystore C:\Users\Username\.android\debug.keystore -list -v
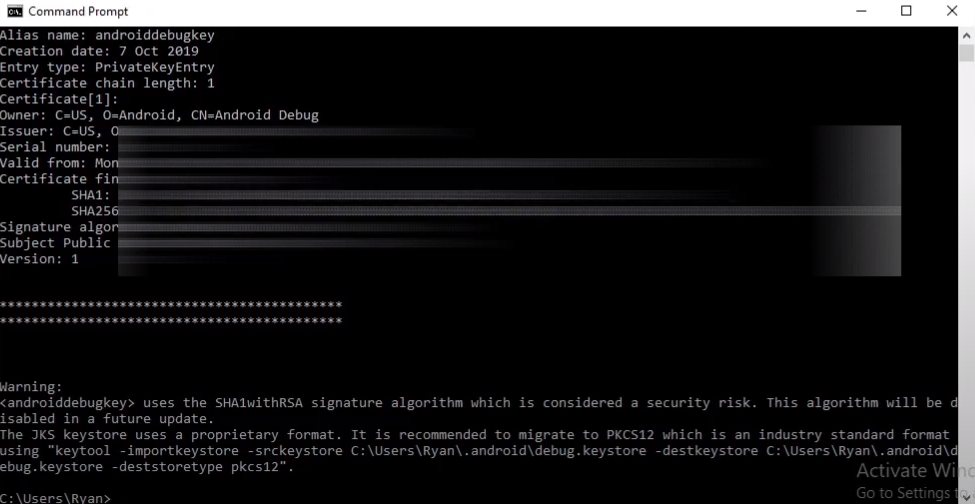
Copy and paste your SHA-1 shown in your cmd and click create.
Finally, go back to our development console.
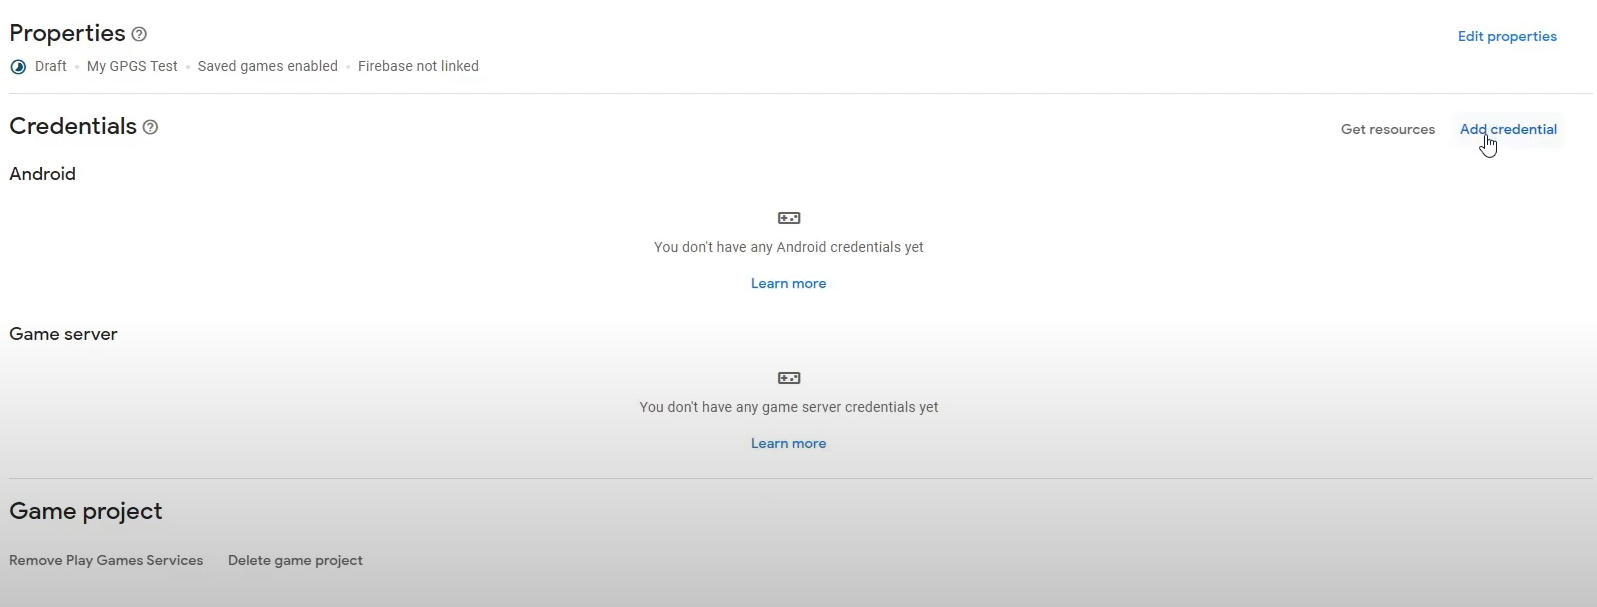
- Go to Play Game Services → Setup and Management → Configuration → Add credentials → Selected the previously created OAuth credential.
Achievements, events, and leaderboards
The most complex part it’s done and the final steps are quite simple.
- Go to Play Game Services → Setup and Management → Achievements and click Create.
All the achievements, events, and leaderboards are quite easy to set up. Just name it as you want and use their names as an identifier inside Unity. Follow the same process for all the features you want to add to your game.
Final configuration
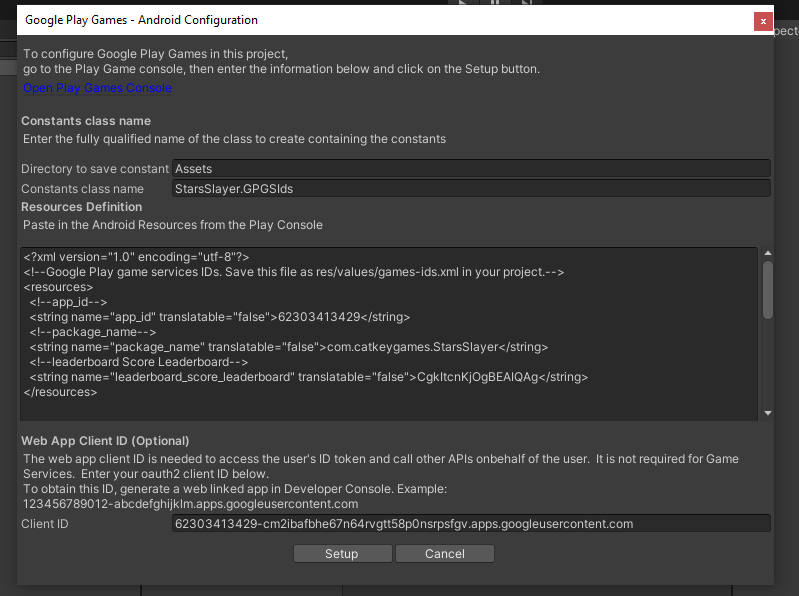
Finally, there’s one file called XML which contains all the project information (leaderboards, config, achievements, etc) that tells the compiler which are the names of those features.
Go to any of the setup sections (leaderboards, achievements, etc) and click the get resources button. Copy the XML file and go back to Unity.
- Go to window → Google Play Games → Setup → Android and paste the XML. Click setup and it’s ready to go.
With all this configured now, we just need a simple code that will request all those features to the Google Play Services.
Let’s code some examples
Now comes the easiest part, the code implementation. Thanks to the configuration steps completed earlier, we can now establish a functional connection between our game and the Google Play Game Services.
Enabling features like sign-in functionality, leaderboards, and more requires only a few lines of code. With the appropriate API calls and integration, you can seamlessly incorporate these features into your game. This straightforward process allows you to unlock the full potential of Google Play Game Services, enhancing the overall user experience and providing engaging gameplay elements.
Sign-in
To enable the sign-in process let’s look at the following code:
| using GooglePlayGames;using GooglePlayGames.BasicApi; public void SignIntoGPGS() { PlayGamesPlatform.DebugLogEnabled = true; PlayGamesPlatform.Activate(); PlayGamesPlatform.Instance.Authenticate((status) => { if(status == SignInStatus.Success) BackendConnection.Instance.CheckUser(Social.localUser.id); else StartCoroutine(WaitForAuthenticationCoroutine()); }); } |
We have the SignIntoGPGS method, which serves all that we need for the sign-in. Additionally, we set the debugLogEnabled property to true. This enables the logging of login-related information, which can be immensely helpful during the development phase.
Moving on, we encounter the Authenticate method. This method initiates the sign-in process and returns a callback function to be executed. The callback function encapsulates the response received from the sign-in process. We need to check the response and utilize the SignInStatus enumeration to determine the outcome of the sign-in attempt.
Depending on the status returned by the sign-in process, we can perform the necessary actions or implement specific logic accordingly. For instance, if the sign-in status is not successful, we can trigger another coroutine to handle the subsequent steps or implement alternative actions as needed. This allows us to gracefully handle different scenarios and ensure a smooth user experience within our game.
For the newest coders, a coroutine it’s a piece of code that runs asynchronously from the main thread and allows you to run logic independently. Take a look at the coroutines manual.
| private IEnumerator WaitForAuthenticationCoroutine(){ var startTime = Time.realtimeSinceStartup; while (!Social.localUser.authenticated) { // X seconds have passed and we are still not authenticated if (Time.realtimeSinceStartup – startTime > AuthenticationWaitTimeSeconds) break; yield return null; } if (Social.localUser.authenticated) BackendConnection.Instance.CheckUser(Social.localUser.id); else BackendConnection.Instance.CheckUser(“unityuser”);} |
Next, we have the WaitForAuthenticationCoroutine method. The objective of this method is to wait for a response, allowing a specified amount of time (X seconds) for the sign-in process to complete. Occasionally, when requesting sign-in, there may be a slight delay in receiving the response, which can be influenced by factors such as the user’s device and network connection. By implementing this waiting period, we can mitigate potential errors or issues that may arise from not allowing sufficient time for the authentication process to conclude.
Leaderboard
The logic for implementing leaderboards is relatively simpler compared to the sign-in process. We use the Social class, which offers a convenient and consistent approach for handling leaderboards across different platforms, including iOS.
| public void ShowLeaderboard() { Social.ShowLeaderboardUI();} |
Yes, that’s it. You only need to call .ShowLeaderboardUI() and automatically will show the leaderboard active in the Google project.
If you want to update the date, it is also straightforward.
| private void UpdateLeaderBoard(){ Social.ReportScore(Score, GPGSIds.leaderboard_score_leaderboard, (bool success) => { if (success) Debug.Log(“[GameManager] Leaderboard posted.” + Score); else Debug.Log(“[GameManager] Leaderboard field to post.”); });} |
The logic for updating the leaderboard is almost the same for the sign-in. A callback it’s called when the response is received and depending on the response you can execute the stuff you wanna do in your case.
The parameters needed are:
- Score: The user’s current score
- Leaderboard ID (this can be accessed by GPGSIds class.
- Callback
Testing on the phone
To test all this logic, you won’t be able to do it inside the editor, and there’s a good reason for that. As mentioned in the process flow section, the request actually sends the SHA-1 key stored in the build to access the Google API. The editor doesn’t contain this SHA-1 key, which is why it’s not possible to test it within the editor.
The best way to test it is by running a build and sending the APK to your Android device. Install the APK on your device and then test it or use a simulator. I recommend setting up some logs on the screen so that you can see the actual process of the requests and track any errors or issues that may occur.
Conclusion
In conclusion, integrating Google Play Game Services (GPGS) into your mobile game development projects offers several benefits and features that enhance the overall user experience. The most complex part it’s the configuration of the platform because the code with the plugin is quite simple. I hope I helped you with all those new concepts and I would love to hear your feedback.
Thank you for your time and see you in future articles!
If you have any doubt you can contact me here: [email protected]